How To Hook Up Solar Panel To Rv Battery?
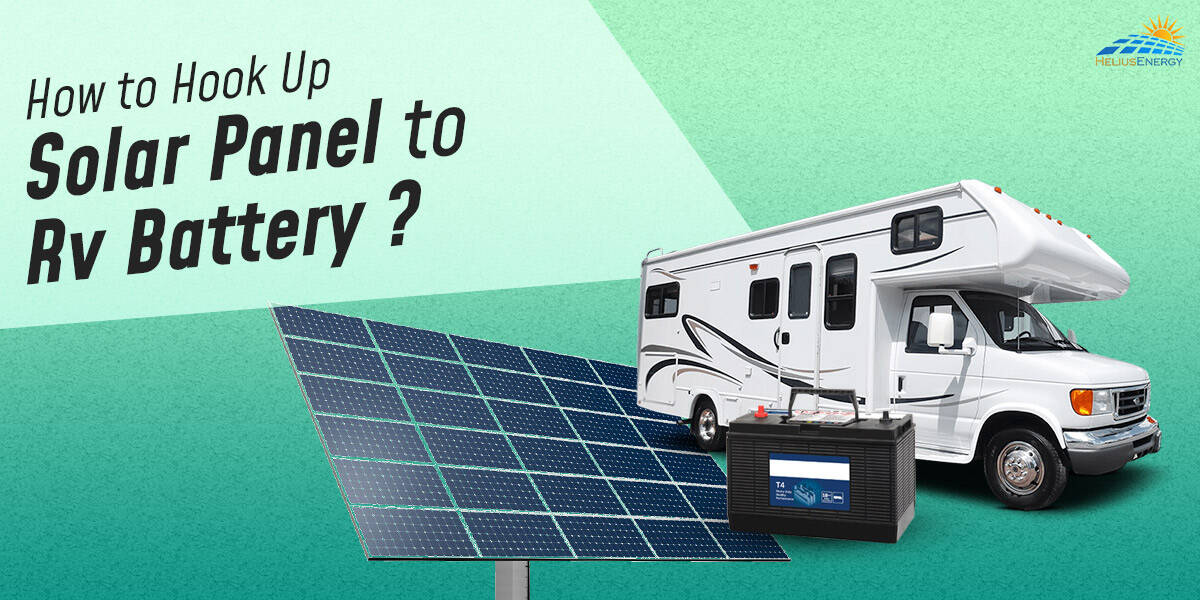
These days, solar panels atop RV roofs are quite popular. By charging your RV batteries with this practical energy source, you may operate your electrical appliances without using a generator and in areas without access to shore power. Installing solar panels on your recreational van is also much simpler than you would imagine.
But when it comes to electricity, things may go dreadfully wrong very quickly. An apparently simple task might become your worst nightmare with just one bad connection.
Before you begin constructing your RV solar power setup, you will need understand the power requirements, components requirements to power a RV and need to uderstand some guidelines and recommendations.
This article explains the procedure and the safety measures required to establish a reliable, long-lasting RV solar power system.
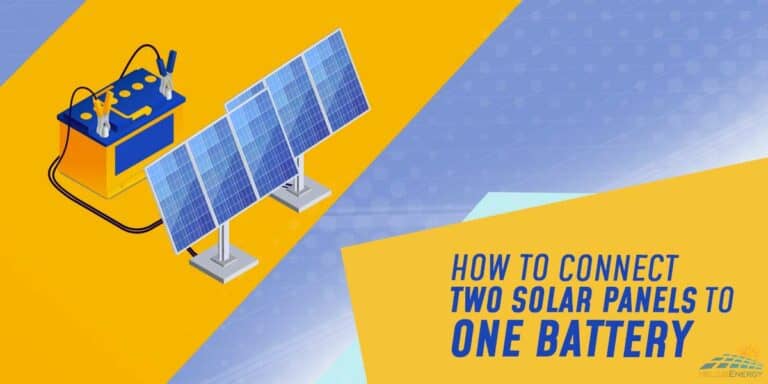
RV Solar System Components
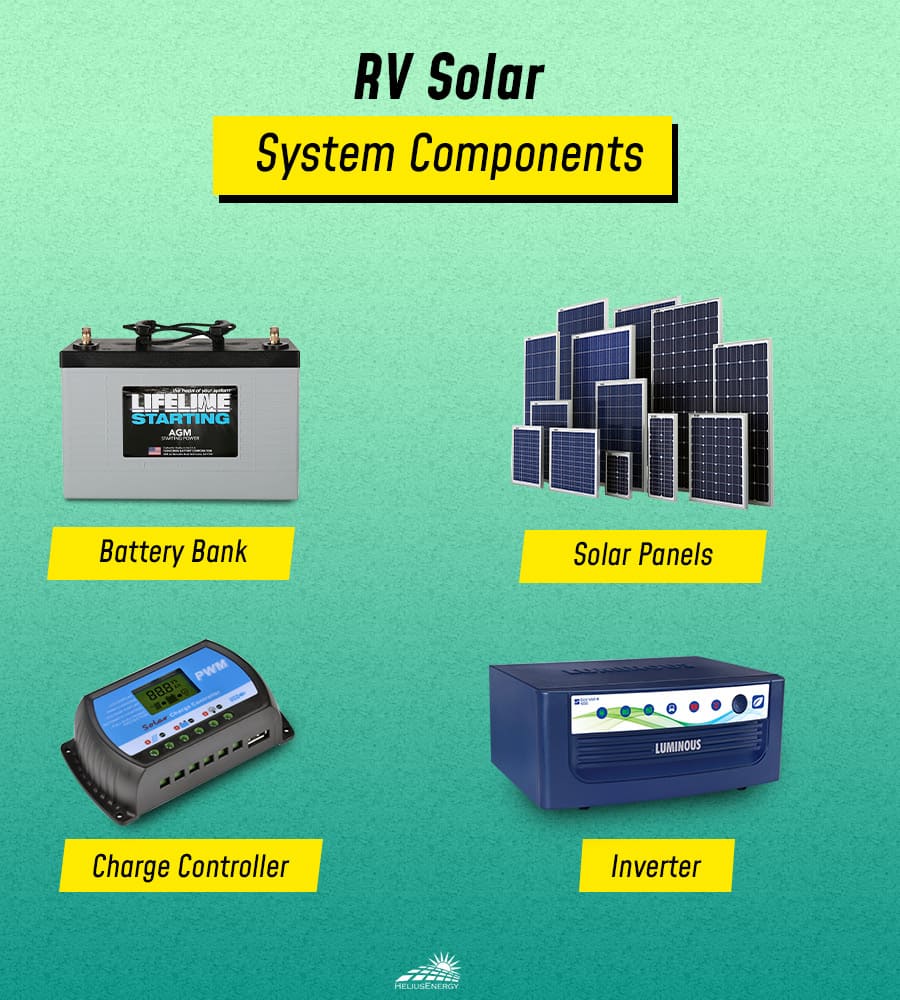
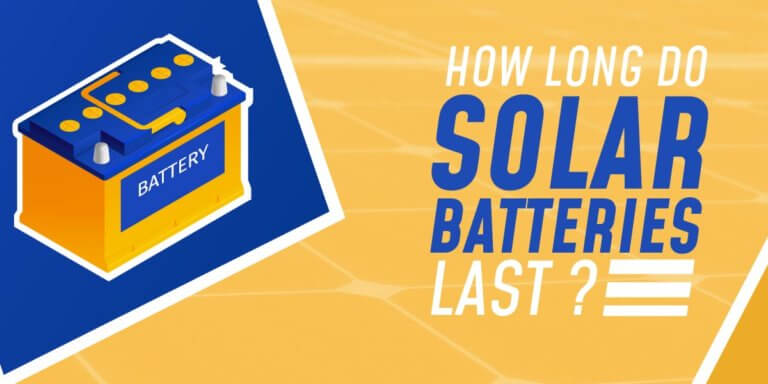
1. Battery Bank
The energy produced is stored in batteries. There is at least one 12v deep cycle battery in an RV battery bank (or 2 6v batteries).
In amp hours or Ah, deep cycle batteries are measured. The more energy is stored, the greater the amp hours. 100 Ah of one type of battery is not the same as 100 Ah of another type of battery since various battery types operate differently. Lithium, Gel, AGM, and lead acid or FLA batteries are the four types of deep-cycle batteries.
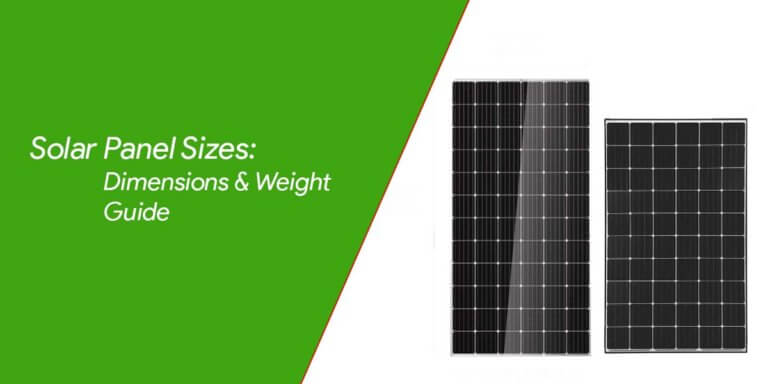
2. Rv Solar Panels
Sunlight is captured by solar panels, which then produce power. Although there are other solar panels ( Polycrystalline vs Monocrystalline) , monocrystalline panels are the most effective.
3. Charge Controller
Solar charge controllers control the current from the solar panels to a safe level so they can charge the batteries. PWM and MPPT are two different forms of solar charge controllers.
- A PWM charge controller is an affordable and practical choice. Please take note that the solar panels must be linked in parallel rather than in series if you use a PWM charger.
- Due to its more complicated circuitry, an MPPT charge controller is significantly more expensive than a PWM. However, it charges the batteries much more quickly and efficiently.
4. Inverter
The battery connections are directly linked to the inverter inputs. The low voltage input is then increased to 120 volts, and the DC waveform is changed to an AC output with alternating polarity. Then, the AC output is either extended outside the vehicle for extra mobile gadgets or hooked into the RV grid.
How To Know How Many Solar Panels You Need For Your RV?
An RV will typically require two to four 200-watt monocrystalline solar panels to balance out its energy usage. The number of solar panels required for an RV is determined by its location and daily onboard electricity use.
1. Calculate How Much Energy You Use
Knowing how much electricity you use is the most crucial factor in choosing the right size for your RV solar system.
Once you have this information, you can calculate how much solar energy must be produced in order to keep the equipment in your RV functioning properly. An RV will typically use between 4 and 15 kWh per day. This equates to around 124 to 465 kWh each month or 1,488 to 5,580 kWh annually.
Whether the RV uses electricity or propane for cooking and heating has a significant impact on the quantity of kWh required.
2. Calculate Energy Generation And Storage Needs
The next step is to choose how rapidly you want to use solar energy to charge your batteries. Typically, you should size your system so that the batteries can be charged in one day (especially if you are using AGM batteries, as fully charging them daily will extend their lifespan).
Alternately, some individuals with extended autonomy may want to size their solar system for only one day’s worth of energy use and rely on alternator charging for the remainder.
Here, we’ll demonstrate how to figure out how many watts of solar power are needed to charge your batteries in a single day fully. You may modify the equation to fit your needs.
The calculation is, therefore:
Battery Ah x Battery voltage / Peak Sun Hours * 1.2 (20% losses) = Required solar in Watts
In contrast to grid-tied solar systems, your RV almost certainly needs an off-grid solar system. Unfortunately, there just isn’t enough room on the roof to put 17 solar panels, so your car may have to rely on a battery storage system to keep you powered up when it’s gloomy or overcast outdoors.
This implies that your RV will also need a charge controller, an inverter, and solar batteries in addition to solar panels.
Do You Need To Use RV-specific Solar Panels?
No! It is possible to make any solar panel work with an RV, although there can be some limitations. The first consideration is the amount of space. There may be a lot of items on an RV roof, necessitating the usage of smaller panels. Full-size residential panels, like those used on residences, can be utilized for RV solar panels if the roof is open.
On this RV, there are 72-cell residential solar panels. The voltage at which non-RV-specific panels operate presents the second difficulty.
Most PWM charge controllers can charge a 12-volt system using the typical RV solar panels’ voltage range of 17 to 20 volts. PWM charge controllers cannot be utilized with home solar panels, which are typically 40–70 volt systems.
As long as the controllers have a high enough voltage rating, you can utilize MPPT-style controllers. An RV may use the majority of solar panels by using an MPPT controller.
How To Hook Up Solar Panels To RV Battery?
1. Set Up The Solar Panels
Before connecting them to the battery, put the solar panels on your RV using the mounting brackets. Find a location on the RV roof where the solar panel will receive the greatest sunlight to create solar electricity. This will increase the solar panels efficiency.
The construction of a platform on the RV roof is necessary for other types of solar panels, even though some solar panels may be linked directly to the batteries of an RV. Aluminum rails are advised because they are reliable, lightweight, and wind-resistant.
2. Connect The Battery Bank And The Charge Controller
A charge controller is a crucial solar system component since it connects the RV solar panels or kits and a battery. It is usually a good idea to connect the battery to the controller to avoid harm from a sudden surge.
To connect a solar power battery to the controller, take wires from the positive and negative battery terminals and insert them into the input ports on the controller labeled for a battery. After that, tighten the screws using a screwdriver to make sure the wires are firmly secured.
3. Assemble The Controller And The RV Solar Panels
The controller must be connected to the RV solar panels using MC4 connections. These lengthy cylindrical fittings have male and female sides. You will need to manually connect your solar panels to the wires if they don’t fit. You may easily find MC4 connectors online or at your neighborhood electrical store.
Simple directions for attaching them to the wiring have to be included. Align the male and female connectors and snap them into place once you have connected the input wires. When the connections “click,” they are properly placed.
4. Double-Check The Connections
Always verify the connections a second time to make sure they are all functional. After completing the wiring, ensure everything is operating as it should.
Most charge controllers include digital displays that show how much electricity is being sent toward the battery. Make sure everything is connected correctly by checking the reading on display.
Till the RV battery is fully charged, keep it plugged in. The amount of sunshine, the amount of electricity used, the wattage of the solar panel, and the battery capacity all affect how long it takes to charge the battery fully. Your RV solar system is now prepared to run DC-powered appliances. To use AC-powered equipment, you must connect an inverter to the line.
5. Connect The Battery To The Solar Inverter
The main objective is to “invert,” or change, the solar panels’ DC electricity to 110V AC power that your RV can use. After that, attach the lugs on the solar inverter to the RV batteries and the AC appliances. Having finished the setting, you may now power all of your devices.
Final Thoughts
Even though it may not be the most challenging phase in the installation process, connecting a solar system is nevertheless quite important. You should adhere to the thorough directions in this blog to connect solar panels to RV batteries. And proceed with the greatest caution; otherwise, consult an electrician.