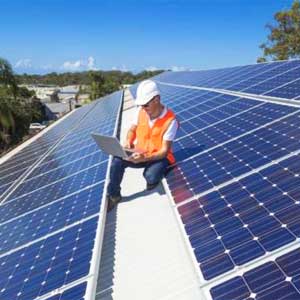
How Are Solar Panels Installed On A Roof?
Over the past several years, using solar energy to power a home has grown in popularity and affordability. More homes than ever are considering using solar energy as their main or backup source of electricity. It’s a smart decision that might increase the house’s value and lower your electricity costs.
But setting up solar panels on roofs is a labor-intensive task. It may seem like a big task to budget, obtain a grant for solar panels, and connect the panels. Purchasing solar panels may seem frightening if you are unsure what to anticipate.
Fortunately, making improvements to your home to use solar energy doesn’t have to be difficult. This article will help you understand how to put solar panels on roof.
- 1. Types Of Solar Panels
- 2. What Are Different Types Of Attachments Available
- 3. How To Install Solar Panel On Rooftop
- 4. How To Adjust Solar Panel On Rooftop?
- 5. Conclusion
-
6.
FAQs-
- 6.1. 1. How long does it take to install solar panels on a roof?
- 6.2. 2. Do I need to reinforce my roof before installing solar panels?
- 6.3. 3. How do solar panel installers ensure that the roof is not damaged during installation?
- 6.4. 4. Can solar panels be installed on a roof with a chimney?
- 6.5. 5. Do solar panels need to be cleaned after installation?
Types Of Solar Panels
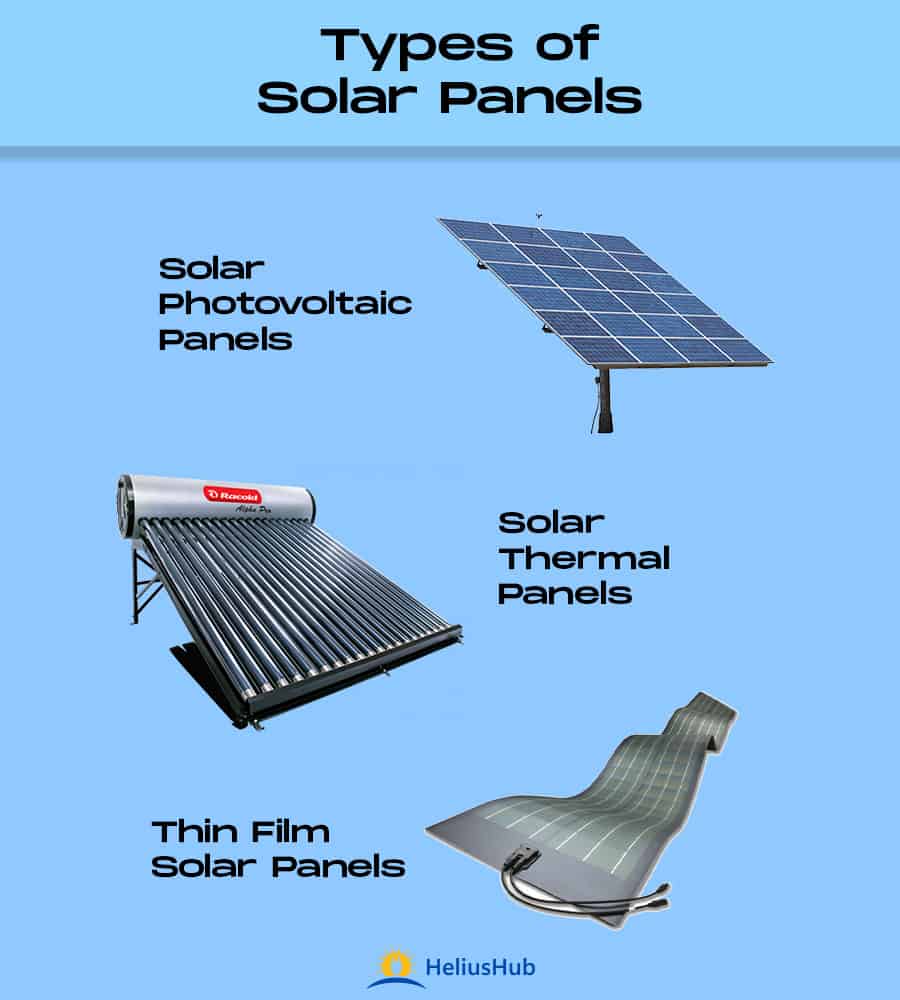
1. Solar Photovoltaic Panels
Sunlight is converted into power using solar photovoltaic (PV) panels. Photovoltaic cells comprised of semiconductor materials, such as silicon, make up their structure. These cells absorb light energy, which liberates electrons and generates a current of electricity that may be utilized to power electrical appliances.
On top of buildings, on the ground, or as part of huge solar farms, solar PV panels are placed. They don’t release greenhouse gases or other pollutants that contribute to air and water pollution, making them a clean and sustainable source of energy.
2. Solar Thermal Panels
Solar thermal panels, also known as solar thermal collectors, are devices that heat water or other fluids using sunlight. Solar thermal panels, in contrast to solar photovoltaic (PV) panels, use sunlight to directly heat a fluid that is subsequently used for a variety of applications.
Solar thermal panels come in two major varieties: concentrating collectors and flat-plate collectors. While concentrating collectors are utilized in large-scale solar thermal power facilities, flat-plate collectors are primarily employed for home or small commercial purposes.
3. Thin Film Solar Panels
Thin film solar panels are photovoltaic (PV) panels that are created by depositing a thin layer of photovoltaic material on a substrate such as glass or stainless steel. The thin film material is often much thinner than conventional crystalline silicon solar panels, with a typical thickness of less than 1 micrometer.
What Are Different Types Of Attachments Available
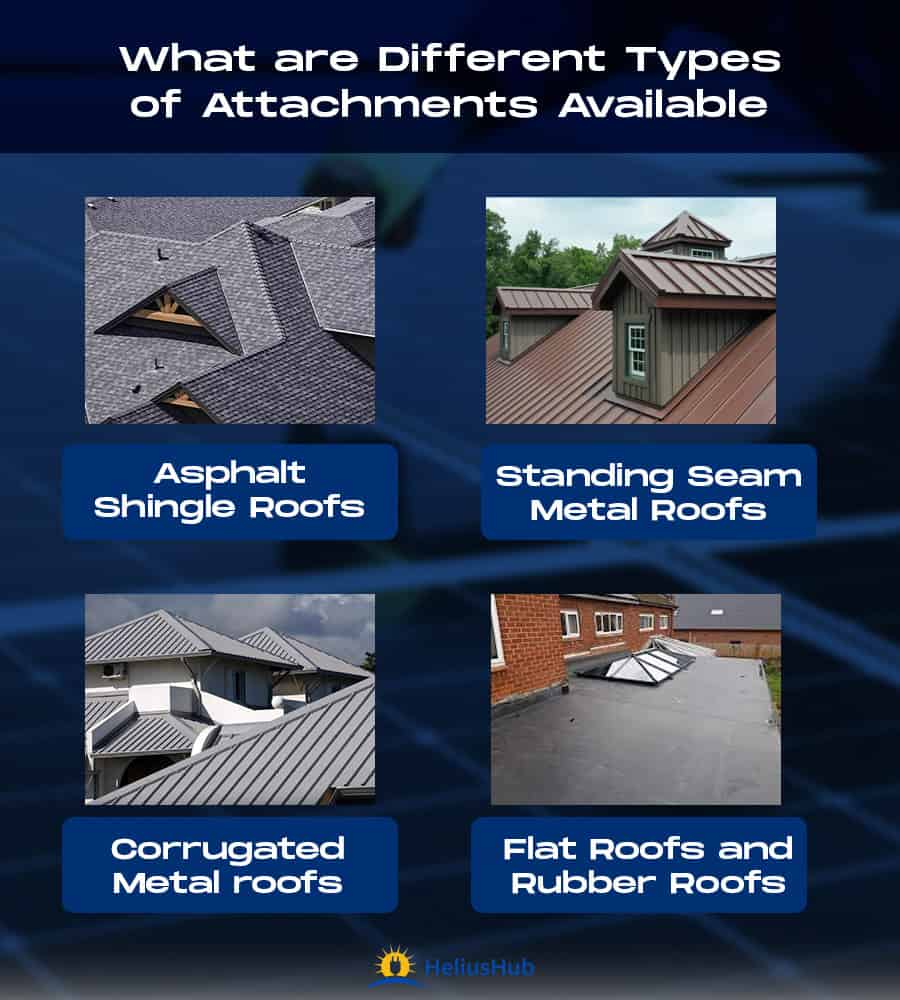
1. Asphalt Shingle Roofs
Asphalt shingle roofs are a type of roofing material that is commonly used in residential construction. They are made from asphalt-coated fiberglass or organic felt and are covered with a layer of granules to protect from harsh weather.
The main advantages of asphalt shingle roofs are:
- Cost-effective
- Easy to install
- Wide availability
- Low maintenance
- Aesthetically pleasing
2. Standing Seam Metal Roofs
Standing seam metal roofs are a type of metal roofing system commonly used in residential and commercial construction. They are made from interlocking panels of metal, such as aluminum, steel, or copper, and are designed to provide a sleek and modern look.
The main advantages of standing seam metal roofs are:
- Durability
- Energy efficiency
- Low maintenance
- Aesthetically pleasing
3. Corrugated Metal Roofs
Corrugated metal roofs are a type of metal roofing system that is characterized by their wave-like or “corrugated” shape.
They are commonly made from aluminum, steel, or zinc and are often used in agricultural, industrial, and commercial applications. It is safe to install solar panels on metal roofs, plus metal roofs are durable and affordable compared to other types of roofs.
The main advantages of corrugated metal roofs are:
- Durability
- Affordability
- Energy efficiency
- Low maintenance
- Versatility
4. Flat Roofs And Rubber Roofs
On your flat roofs, solar panels can also be put without any penetrations, whether made of EPDM rubber, TPO, or other material. They are referred to as ballast mounts. The weight of the cinder blocks keeps the solar panels and their racking in place on the roof.
A bonus of a ballast mount method is that, unlike other mounting styles that depend on the angle of the roof they’re being built on, the panels themselves may be tilted and positioned to maximum production.
How To Install Solar Panel On Rooftop
1. Decide Where To Place Solar Mounting Brackets
A solar provider will perform a site study before renovating your home to use solar electricity. In order to determine whether solar panels are a good option for your home, they will take measurements all around your property. After that, an engineer will finish and approve the formal CAD design.
The solar panel installers will then determine the location of the solar mounting brackets on your roof. The solar mounting brackets, which resemble huge screws, are mountings that keep the panels in place.
They must be able to endure up force, which are powerful wind gusts that might pull solar panels off a roof; therefore, they must be extremely sturdy.
The rafters beneath the roof must be secured with mounting brackets for solar panels. Installers will use a stud finder or the home’s plan to locate the rafters. The brackets must be installed with a minimum distance of four feet between them.
Installers can use screws to secure the solar installation brackets to the roof once they have determined where to place them.
2. Thermoseal and Secure the Mounting Brackets
The technicians will carefully drill holes into the rafters in order to attach the solar installation brackets to the roof. Then, as was already indicated, they will secure them with screws.
The higher and lower aluminum rails holding the solar panels to the mounting brackets must be attached before the screws are sealed. They should use an impact driver to tighten the bolts as much as possible.
Thermo-sealing the brackets’ mounting screws is the next step. This will stop rain from penetrating the roof through the screw holes.
3. Measure and Set Up Rails
The upper and lower rails must be spaced equally along the whole roof; therefore, the next step is measuring them. The installers will run a measuring tape from the top corner of one rail to the lower opposite corner of the other to make sure these rails are square. Both parties will need to work on this.
The rails are square and work can proceed if the measuring tape shows that the two lengths are absolutely identical. The top and bottom rails must be readjusted if there is a length discrepancy.
A third rail will be placed between the first two after they are completely parallel. The top and lower rails should line up properly with them.
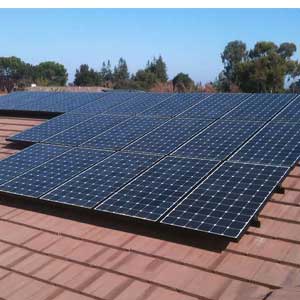
4. Install Solar Panels
Last but not least, the solar panels themselves are now prepared for mounting on the roof. They will be mounted on the stanchions using retaining clips that have been bolted into the rails. It will also be necessary to attach the plug connections between the panels.
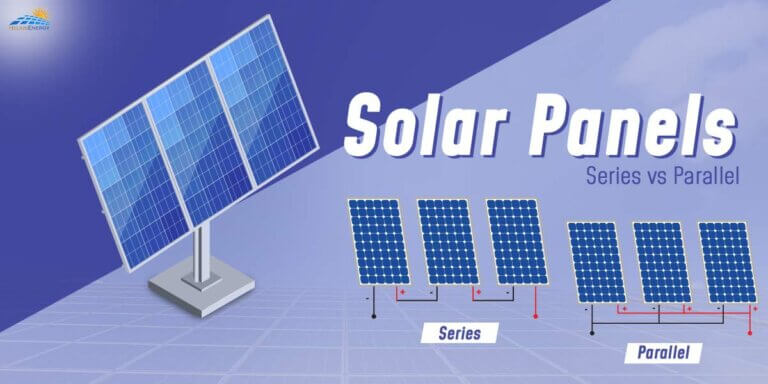
Even though this is the final stage of mounting solar panels on a roof, the electrical work that still has to be done is just getting started. Your solar panels will be connected either in series or in parallel connection to an electrical meter that the installation and electrical teams will set up. The cables must be connected to an electrical sub-panel as well.
Certain electrical improvements could be necessary to complete the installation of the new solar panel system. It’s important to note that you should look for a solar company that uses certified electricians to deliver their services. Certain elements of the job are subcontracted out by some solar panel businesses, which leads to unreliable outcomes.
How To Adjust Solar Panel On Rooftop?
1. For Tile Roofs

Installers may need to remove part of the roof tiles in order to mount solar panels to a tile roof.
On the roof, tile hooks with flashings will be put in place to hold the panels. After that, the installers’ removed tiles may be put back in place completely around the fresh mountings.
When installing solar panels on Spanish-style tile roofs, it is nearly a given that some tiles will break.
Although your installation team will take care to do as little damage as possible, it’s practically impossible to walk on a Spanish roof without shattering a few tiles. This may increase the cost of installing solar panels on Spanish rooftops.
2. Metal Roofs
Metal roofs with standing seams are ideal locations to place solar panels. Mounting clamps may be secured to the standing seam, negating the need to drill holes in the rafters supporting the roof.
Another benefit is the abundance of open space under the array that metal roofing for solar panels provides for air circulation. The panels perform more effectively as a consequence.
3. Wood Shake Roofs
Wood shake roofs are fashionable and ornamental, making them a great choice for anyone who desires a distinctive-looking house.
Unfortunately, because the wood pieces they’re composed of are frequently fragile, they’re less suitable for mounting solar panels. However, it is still possible if the proper safety measures are taken.
Despite a wood shake’s fragility, installing solar panels on a wood shake roof is extremely straightforward. Underneath one layer of the shake roof, solar panel mounts may be fixed, and the panels can then be quickly fastened to the mounts from there.
Conclusion
If you want to know how the process of laying out solar panels works, here you go. These are the ways that solar panels are installed on a roof. Out of the several methods mentioned here, you must choose the one that makes the most sense.
Taking into consideration your space limitation, roof material, roof type, and budget, you have to choose the type of solar panel installation. I hope this article has helped you understand how to install a solar panel on the roof.