How to Use A Solar Panel To Charge A Battery?
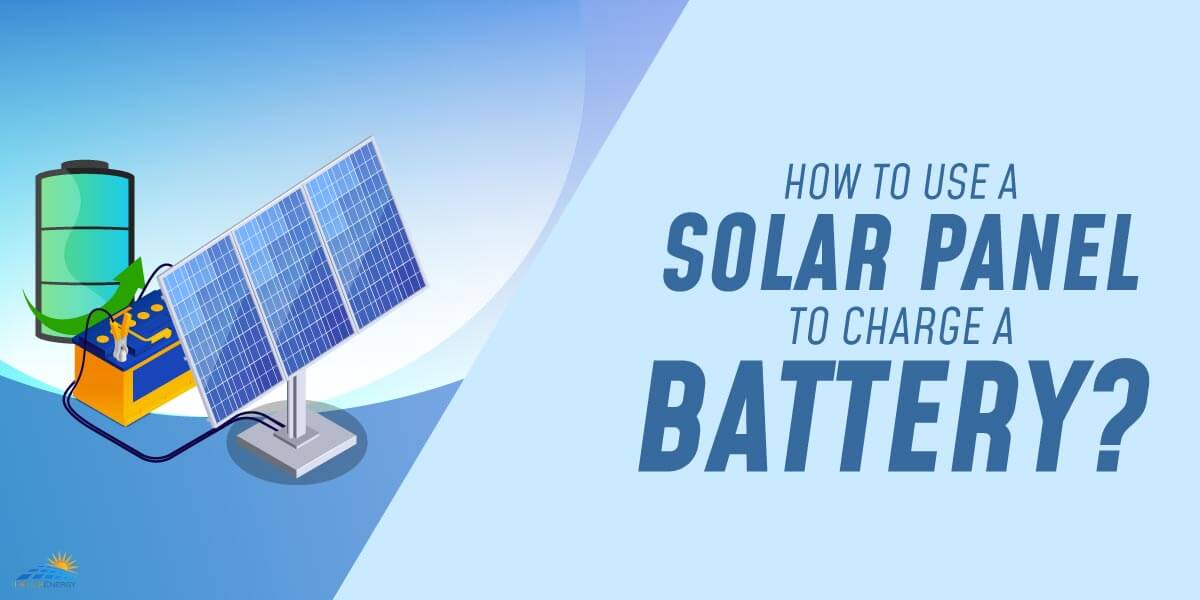
Using solar panels to charge batteries is a good way to use clean, renewable energy. But, before you start, install a charge controller that can regulate the voltage from your solar panel as it is duly transferred to your battery, you have to buy charge controller that will be durable and up to standards.
Without charge controller, sunny days will witness exponentially more energy production from the solar panel than your battery can handle. This can damage the solar battery. Fortunately, there are easy steps that can have you charging your solar panel batteries in no time!
- 1. Need of Charge Controllers
-
2.
How to Charge a Battery with a Solar Panel
- 2.1. 1. Check the Solar Panel for the Wattage
- 2.2. 2. Divide the Solar Watt by the Battery Voltage
- 2.3. 3. Choose An MPPT or PWM Charge Controller
- 2.4. 4. Mount the Charge Controller
- 2.5. 6. Connect Negative and Positive Wires
- 2.6. 7. Slide the End of the Wires
- 2.7. 8. Connect the Wires to the Solar Panel
- 2.8. 9. Check Output of the Controller to See if it is Working Correctly
- 3. Conclusion
Need of Charge Controllers
You can use solar panels to charge batteries, but typically a battery cannot be directly plugged into your solar panel.
You will need a charge controller that can protect your battery by converting the solar panel’s voltage output to a form suitable for your battery that is being charged. That is why it is necessary for you to know how to connect charge controller to solar panels properly.
When charging a battery directly from solar panels, use a charge controller to regulate electricity flow from your panel to the battery aptly. A charge controller is often called a charge regulator or solar regulator.
1. Charge Controllers Types
There are two types of charge controllers, and the decision as to which one is best for your needs is up to you.
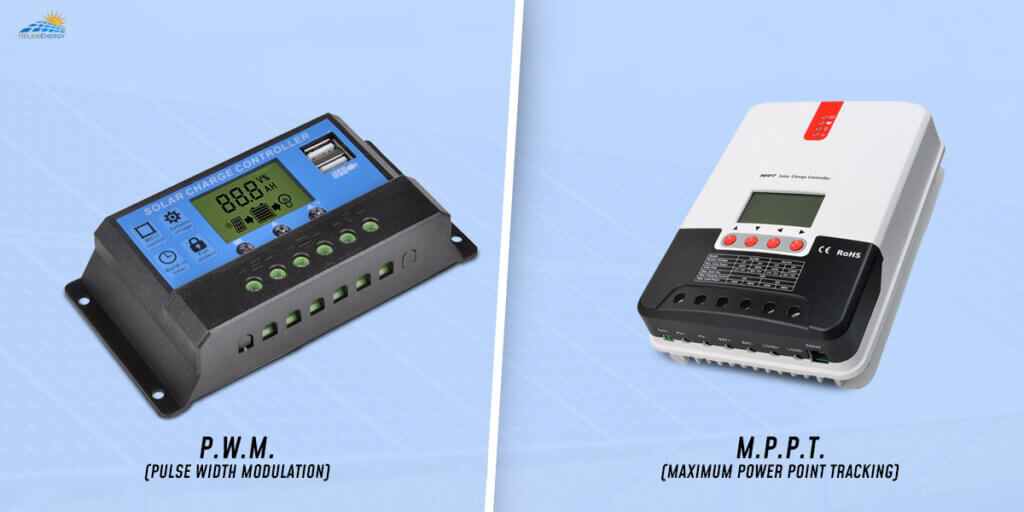
1. PWM (Pulse Width Modulation):
A PWM is the comparatively simpler, standard, less expensive charge controller. Note that when using this, the solar panels’ voltage, as well as the battery, must be the same.
The PWM sends charge pulses to your battery, and once the battery is discharged, the PWM sends a long and near-continuous pulse to charge your battery. The PWM sends very short pulses to keep the battery charged when fully charged.
2. MPPT (Maximum Power Point Tracking):
The MPPT controller pairs a solar panel system and a battery of varying voltages. MPPT is a more complex and expensive controller. It can track the panel’s output and the voltage your battery needs. Then it matches the panel’s output with said voltage to keep the battery charging optimally at all times.
2. Charge Controllers Functions
A charge controller is a kind of on-and-off switch that facilitates the current flowing from your solar panel to your battery. It ensures the battery is getting the proper voltage while charging.
A standard 12-volt solar panel typically puts out more, offering more voltage than the battery needs. The charge controller regulates the voltage offered and lets only the required current flow into the battery.
As and when the battery is 100% charged, the charge controller will shut off the electricity supply to protect the battery by averting chances of overcharging or damage that can shorten the battery’s lifespan.
The charge controller will allow current through only when the battery begins to discharge. At night, if the battery is not under charge, the charge controller keeps working to ensure a reverse current is not flowing back into the panel, discharging the battery even when it is probably not in use.
3. Is a Charge Controller Really Needed?
You often do not need a charge controller for your solar panel system, though you still need to include a blocking diode to ensure the panel does not start discharging at night. It is best to have a charge controller to protect the battery.
You might not need a charge controller if you have less than 5 watts/100-amp hours of battery capacity. Also, only lead-acid batteries sometimes work without a controller, and that too, only if they are performing low-current charging.
How to Charge a Battery with a Solar Panel
1. Check the Solar Panel for the Wattage
You should see a sticker on the back of the solar panel mentioning the watts it can produce. 300W written on the back of your panel means the array can produce 300 watts of energy. If you cannot see one, use a multimeter to measure its wattage output when it is under the direct sun.
2. Divide the Solar Watt by the Battery Voltage
You can find the voltage mentioned on the battery. Divide this number by the wattage listed on the back of the solar panel. You will get the amps that the charge controller needs to handle to charge the battery safely. Charge controllers are often rated in multiples of 30 amps, so once you get your number, it is best to round up to the next highest rating.
3. Choose An MPPT or PWM Charge Controller
As we mentioned, you will find 2 main kinds of charge controllers: You have to choose between MPPT and PWM charge controller, which will regulate the maximum voltage your solar panel sends to the battery.
An MPPT charge controller might be up to 30% better at storing as well as transferring energy than its PWM counterparts. Unlike PWM, you can use MPPT charge controllers with strings of your solar panels.
4. Mount the Charge Controller
Charge controllers are not usually weather-proof, so never install them outside, even if the solar panels are mounted in place permanently. Instead, look for an out-of-the-way place where you can install the charge controller and run wires from the solar panel to the controller.
6. Connect Negative and Positive Wires
This can be done either by wrapping bare wires around your battery posts and securing those wires to the posts with the help of clamps or by making use of wires with ring connectors that can fit over the posts.
7. Slide the End of the Wires
The ends of the wires that will plug into your charge controller will usually not need to be fitted with a connector. Instead, you can just slide the ends of the bare positive and negative wires into their corresponding ports and use a screwdriver to tighten the screws securing the wires finally.
8. Connect the Wires to the Solar Panel
Once the input wires are attached to the charge connector, find the 2 loose wires ending in an MC4 connector. Match the male and female connectors with their corresponding opposite ones coming away from your solar panel. Then snap the MC4 connectors into the proper place. You will hear a click when the connectors are properly sealed.
9. Check Output of the Controller to See if it is Working Correctly
Most charge connectors include a digital screen that shows you the output that is flowing to your battery. If the reading says 0, double-check whether everything is hooked up properly.
Conclusion
Remember to leave the battery on the connector till it’s fully charged. The amount of time it will take to charge the battery depends on the size of your battery, the wattage of your solar panel, and the weather that day. This is where your digital display can come in handy. If you notice the output dropping, it can mean that your battery is close to being fully charged.